Retro Sketch
Docs Home
Animation Preview WindowAtlas Maker Window
Canvas Window
Color Palette Manager Window
Color Palette Window
Color Picker Window
Export Window
Keyboard Shortcuts / Hotkeys
Layers Window
Menu Bar
Plugins
Project Setup Window
Quick Menu Window
Reference Image Window
Settings Window
Thumbnail Window
Timeline Track Bar
Timeline Window
Tools Window
- Brush
- Center Canvas
- Color Sampler
- Color Swap
- Eraser
- Flood Fill
- Grid
- History
- Import Image
- Nudge
- Reference Image
- Save Project
- Selection
- Shapes
UI Overview
Atlas Maker Window | Retro Sketch Documentation
The "Atlas Maker" window is primarily designed to help support video game developers like us. It is a tool that allows you to select any canvas, from any track, in any order; to be exported as an animation clip. You can have multiple animation clips in a single atlas.
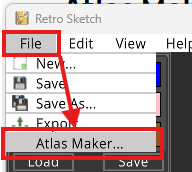 First, open up the project which you wish to make an atlas out of. Next, select file from the top menu bar, and then select "Atlas Maker...". You then will be presented with the following window.
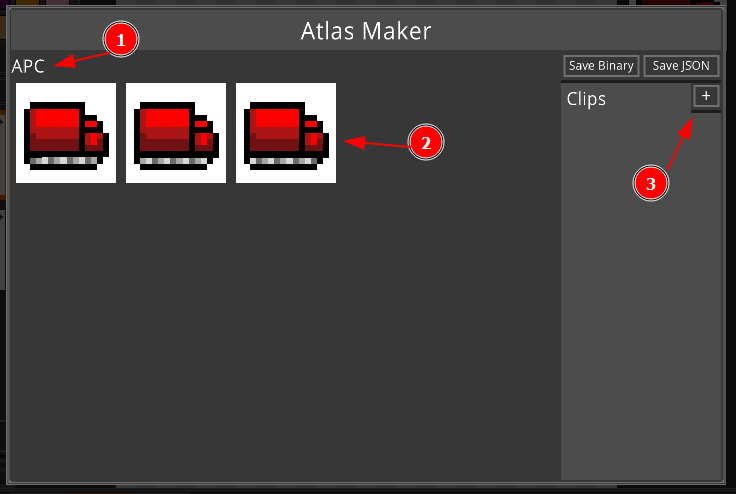
- Each track name will be listed
- Each canvas in the track will be listed
- You can create animation clips (a named sequence of frames) using the (+) button
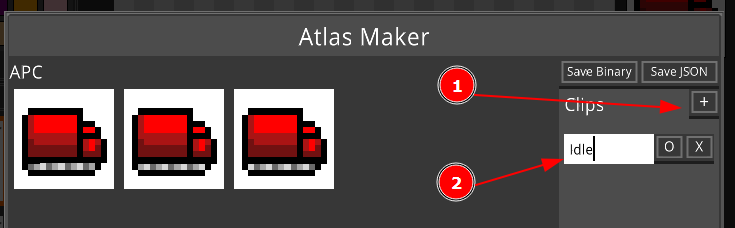
Let's start by creating a new clip. In this case, we will call it "Idle". It will represent the vehicle sitting still. The animation is of the tracks on the bottom, continuously moving to the left. To begin, we'll click the plus button in the clips panel. Then we will input the name "Idle" in the input box that shows up.
Now let's select the frames that make up this animation clip. We'll start by clicking the "O" button next to the clip name we just input. Then we will select the canvases, in order, that make up the animation.
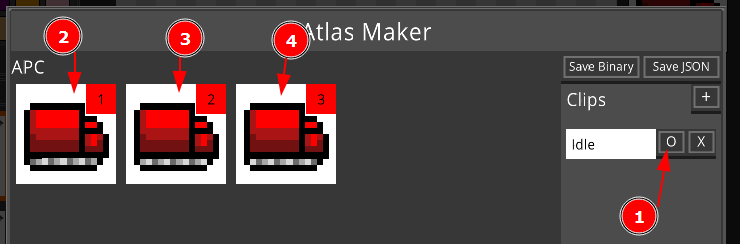
Each image we click on will have a number shown in the top right corner. This is the number that indicates the frame this canvas will be in the animation clip. You can create as many clips as you like by clicking on the (+) button again if you wish. However, for this demo, we are now going to export the atlas animation and it's details. So confirm everything is correct and click the "Save JSON" button.
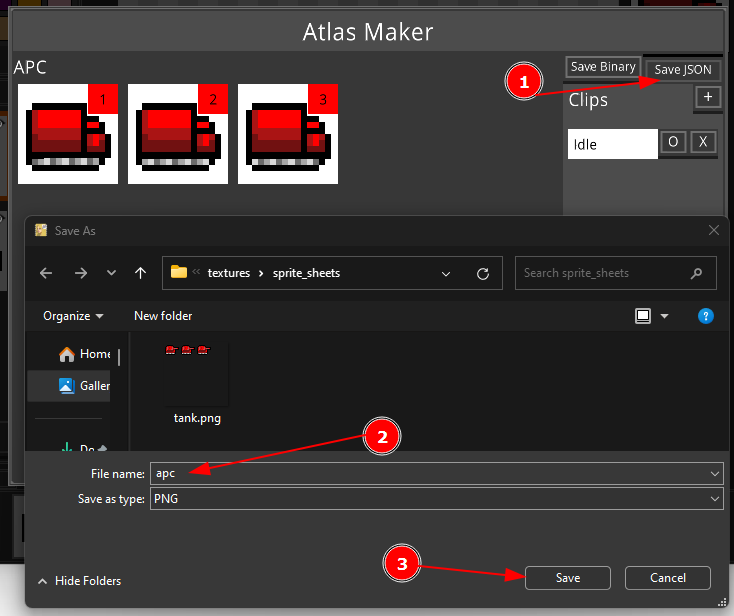
- Click the "Save JSON" button
- Type in the name for your atlas
- Click save
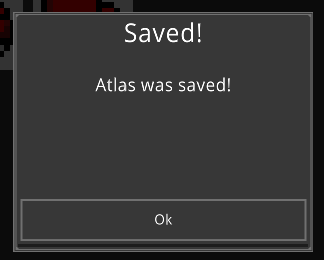 If all went well, you should see this popup on the screen letting you know that the save has finished. You can now review the file to ensure it looks correct.
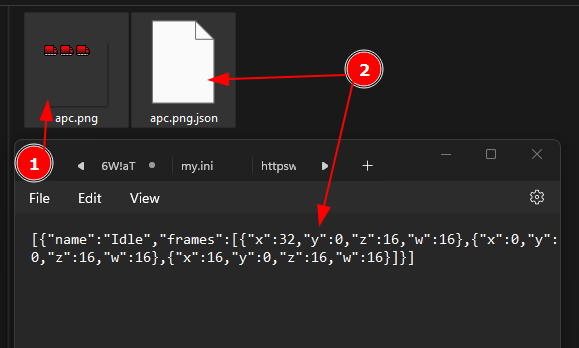
- The PNG file displays your atlas
- You should also have a JSON file that matches the PNG file, with the ".json" file extension
Opening up the JSON file, you should see your clip name "Idle", and the list of rectangles that make up each of the images for the clip.
New in v16 - "Add all" button
In version 16 we've added a "Add all" button which will simply add all of the canvases (in order) from a track to the currently selected clip.
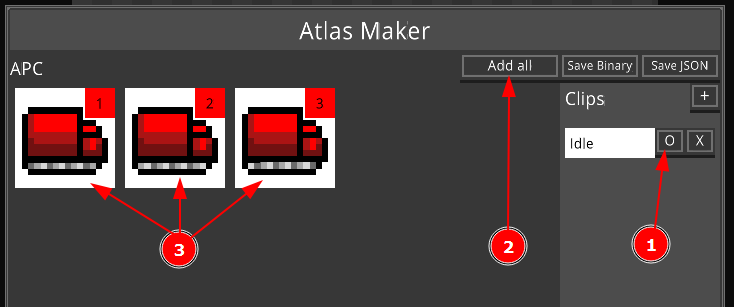
- Enter select mode for a given clip
- Click on the "Add all" button next to the track title
- All canvases in that track will be selected in order